What is “Finishing”?
I often talk about “finishing” a ring, I realised that’s really vague, so I thought I’d explain.
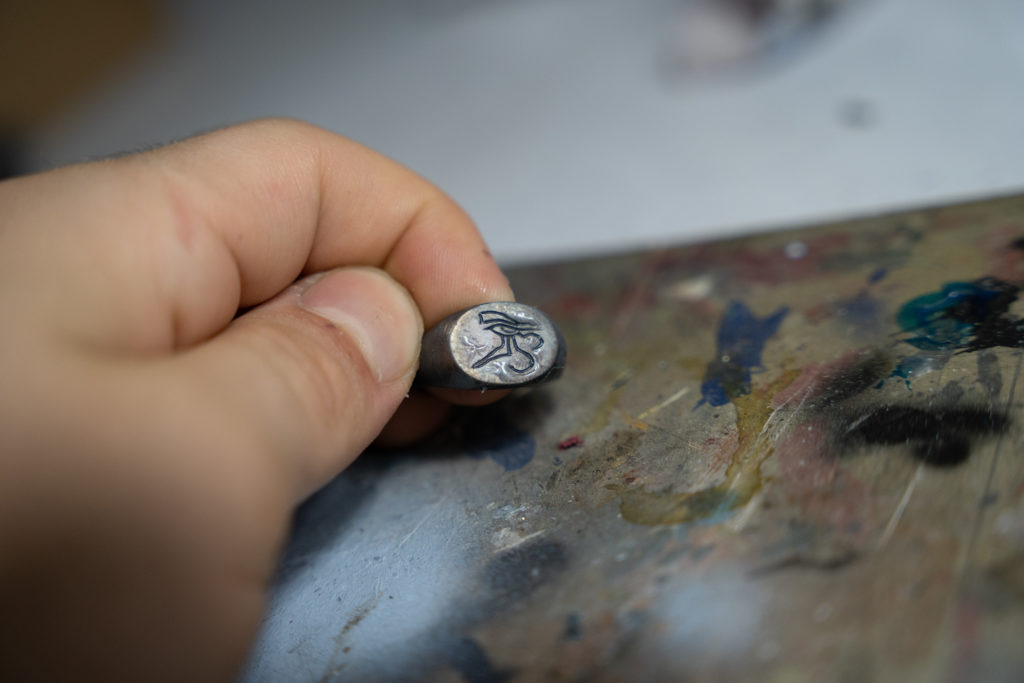
When I get a piece back from casting, it looks like this:
I think we can agree that looks like shit, so how does it end up looking not like a piece of scrap metal? It’s all in the finishing process.
Grinding
The grinding process is when I remove the ‘sprue’ from the piece. The sprue is the little bit left from where the molten silver flows down the mould into the piece. This part is dead simple, I literally just push it into a grinding wheel and watch the sparks fly.
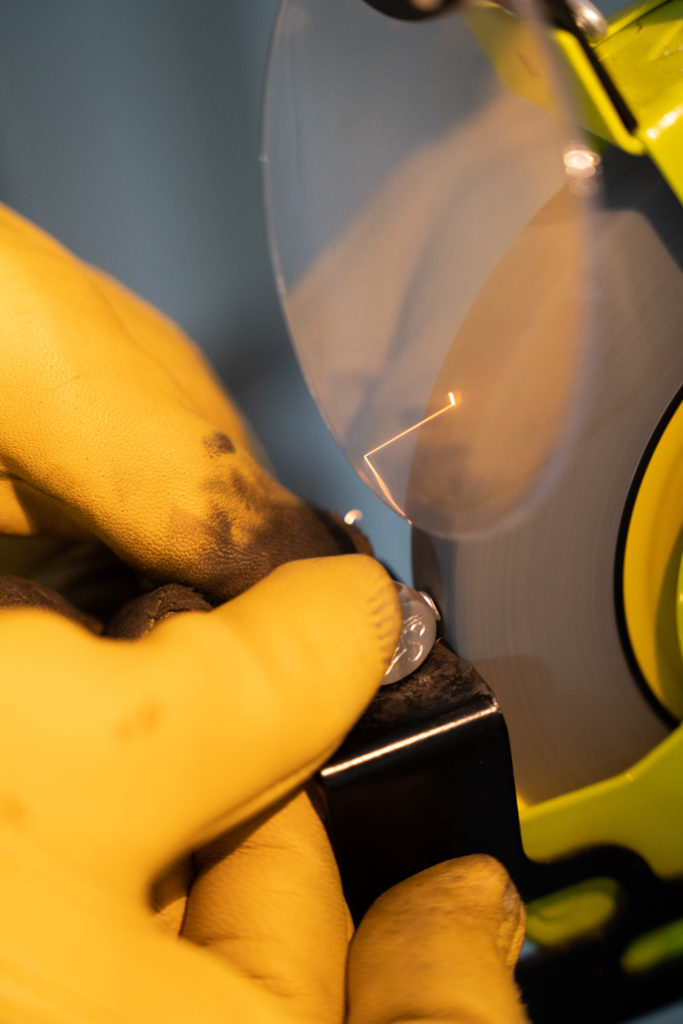
Notice I’m wearing gloves. That’s not to protect my fingers from the grinding wheel though. It only takes a few painful practical lessons on the heat conductive properties of metal before you stop thinking you can get away without wearing gloves. These ones are leather and kinda expensive but they’re so comfortable that you could literally wear them all day and not have any issues. Does that make my rings not vegan? I dunno.
Belt Sanding
Belt sanding is similar to grinding, but less harsh. This allows me to get a bit more silver off the piece without accidentally ripping half of it off with a careless nudge. Trust me I’ve accidentally dissected more than a few rings before.
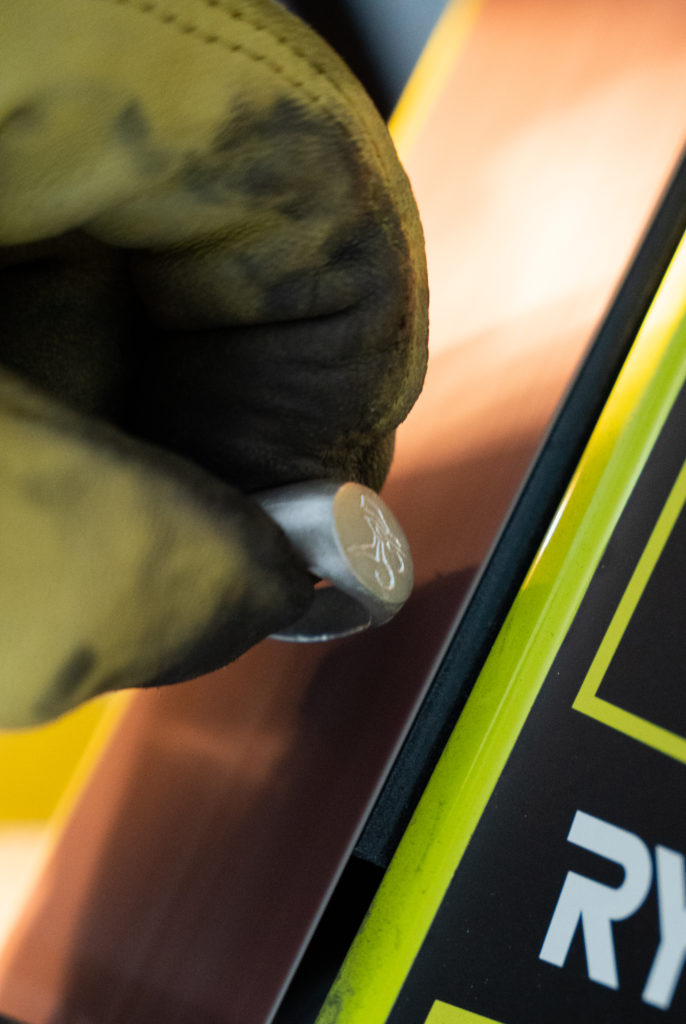
I normally have to vacuum my workbench after this because of the ungodly amount of silver dust everywhere. Here’s how the piece looks afterwards:

It still looks like garbage 😀
Rotary Tool Sanding
You thought the sanding was done. You’re wrong. The sanding is never done.
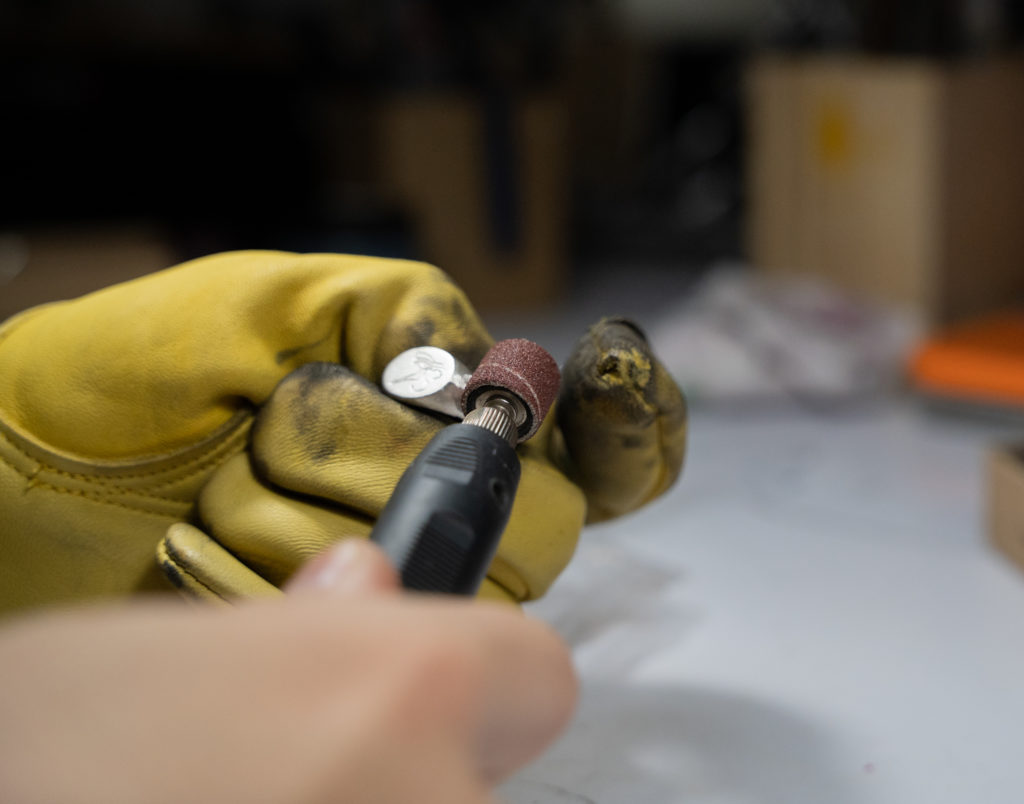
This is pretty much the exact same as the last step, but because the rotary tool is hand held I can get a bit more precision. Doing this extra step makes buffing a lot less painful.
Buffing
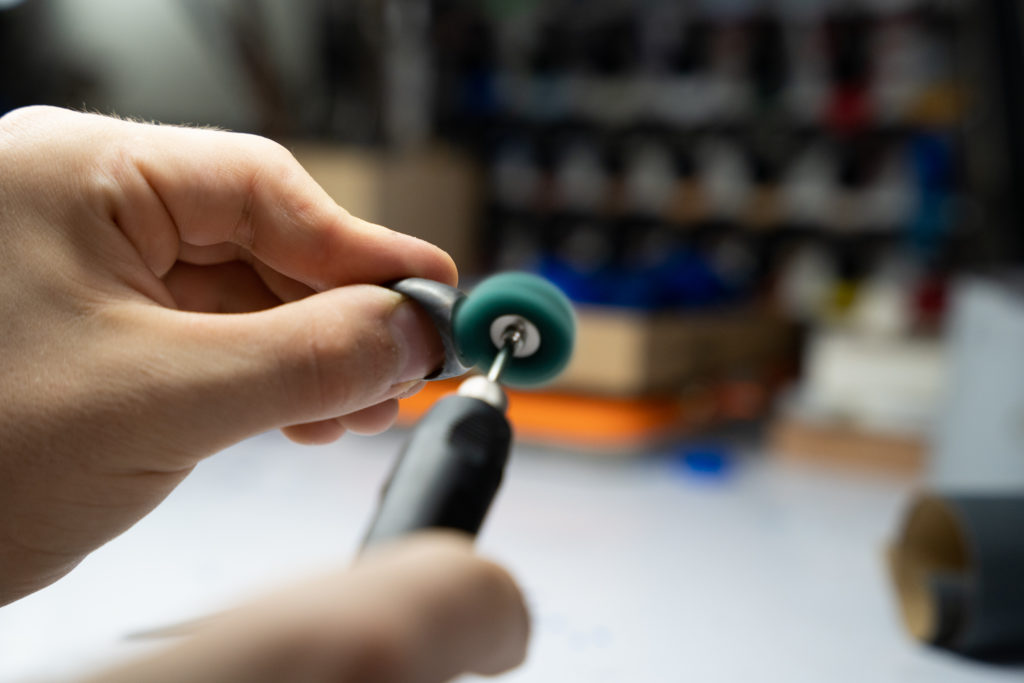
With the grinding and sanding done, we can get down to the more interesting bits. Buffing methods vary, some people like to do it by hand with a cloth (what is wrong with you people?). I prefer using technology invented within the last 200 years so I use a rotary tool with a buffing head attached. A buffing head is pretty much just coarse fabric impregnated (that is the technical term I swear) with buffing medium. It looks like this:
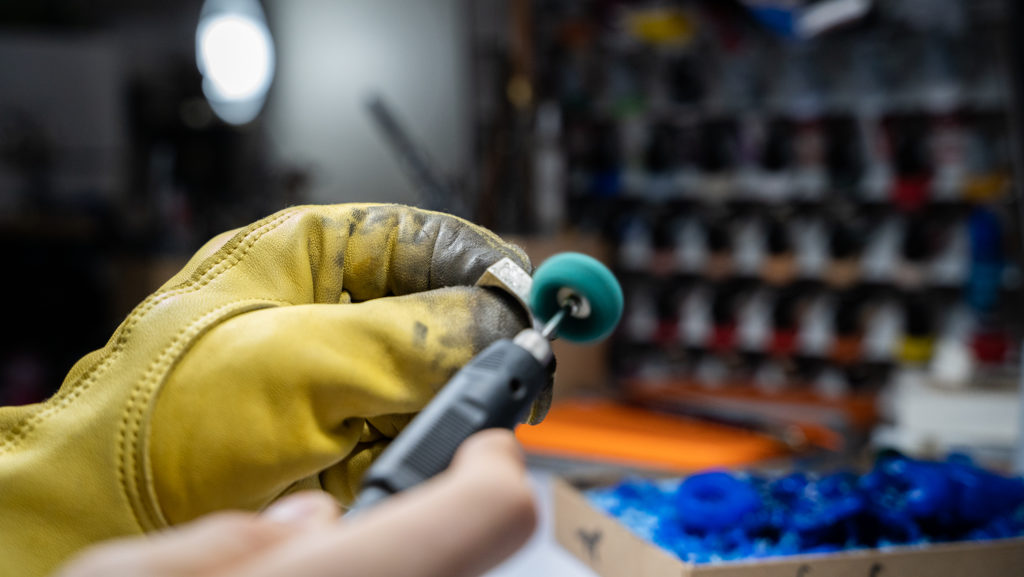
This buffing head is green, they come in different colours depending on the coarseness of the buffing medium. Yellow is the most coarse, and black and red are the least coarse. Don’t think that makes it any less painful when you accidentally brush your thumb with one and get a combination of a carpet burn and road rash in less than half a second.
Resizing
No one is perfect, and that includes the casting contractors who I pay to cast my rings in certain sizes. Not to worry though, as a professional jeweller I’m skilled in the techniques required to fix an issue like this. Techniques include: hitting the ring with a special hammer until it fits.
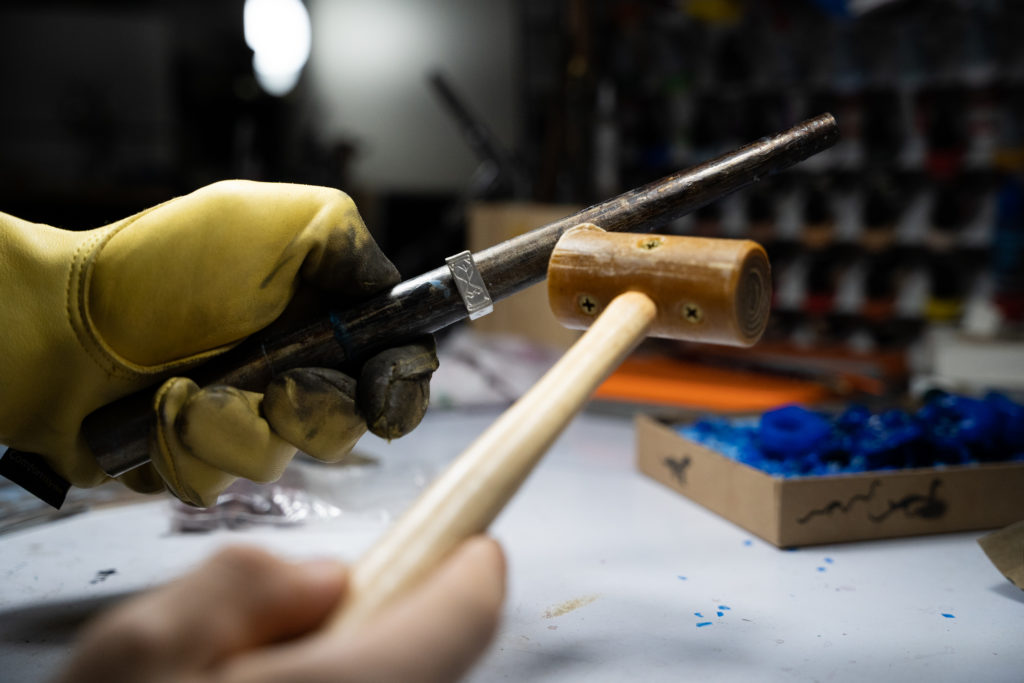
That hammer looks funny because its actually made entirely from leather and coated in shellac. You need a hammer like this to resize rings without completely deforming them. Once again, I learnt this the hard way. Click here to watch an Instagram reel showing the difference.
Creating a Biohazard (Oxidiziation)
This is a tub of liver of sulfur gel:
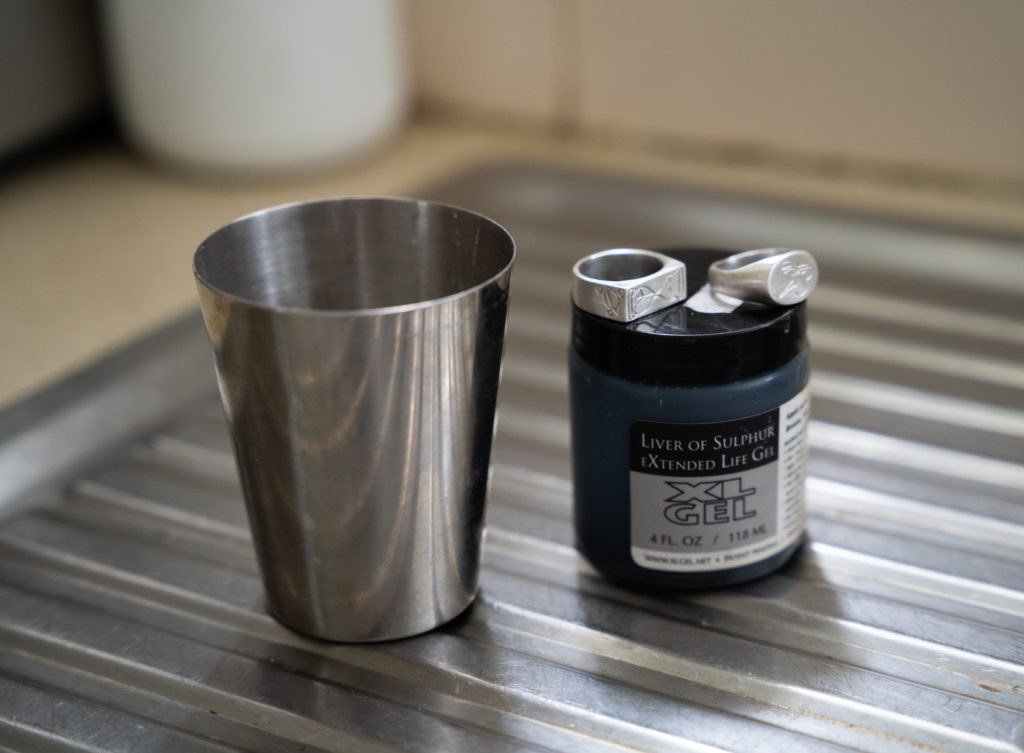
Some genius figured out that if you leave sterling silver in a sealed bag with a warm egg yolk overnight it’d turn black. Liver of sulfur mixed with some warm water does that in about 3 minutes. That’s because liver of sulfur is literally just concentrated rotten egg juice. If you’ve ever smelt rotten eggs, just imagine that smell x10 and you’ve got liver of sulfur. The best part is that for the privilege of owning this 4 oz tub of rotten egg juice you’ll pay about $70 plus shipping.
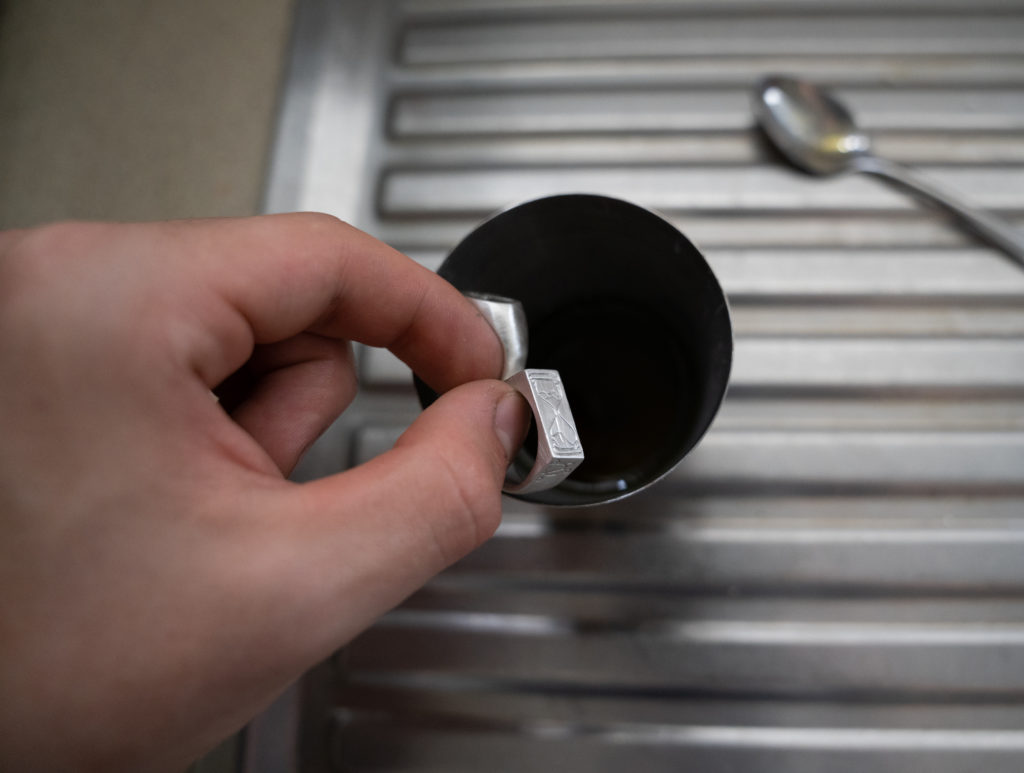
The egg water has a lovely yellow brown tinge, reminiscent of diluted effluent.
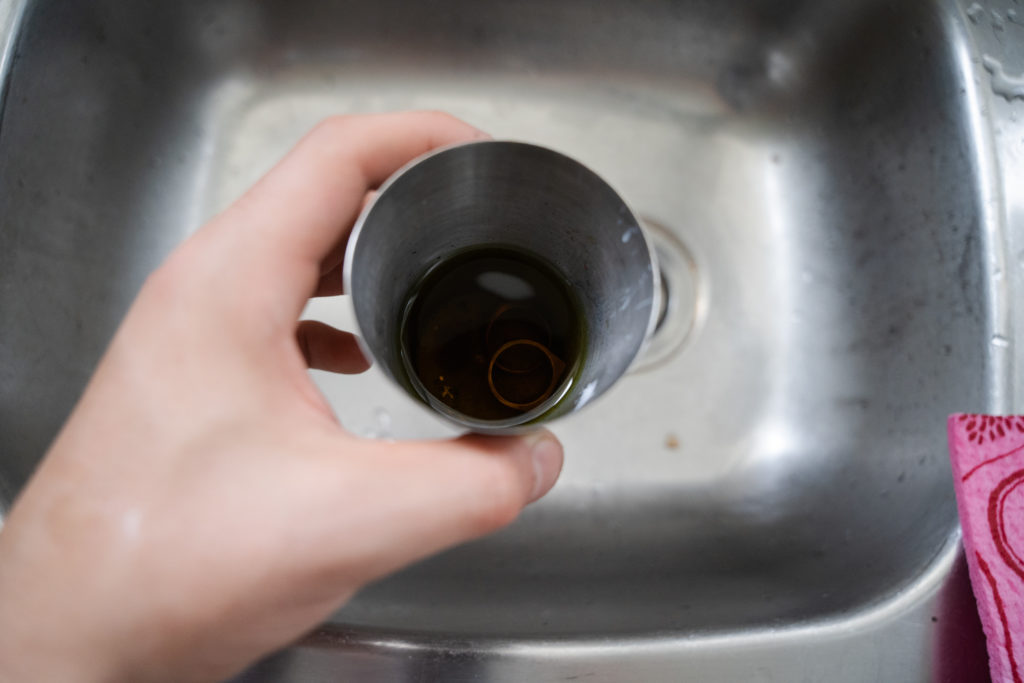
They sit in here for about 5 minutes, or 12 hours if I forget about them overnight. There is no in-between.
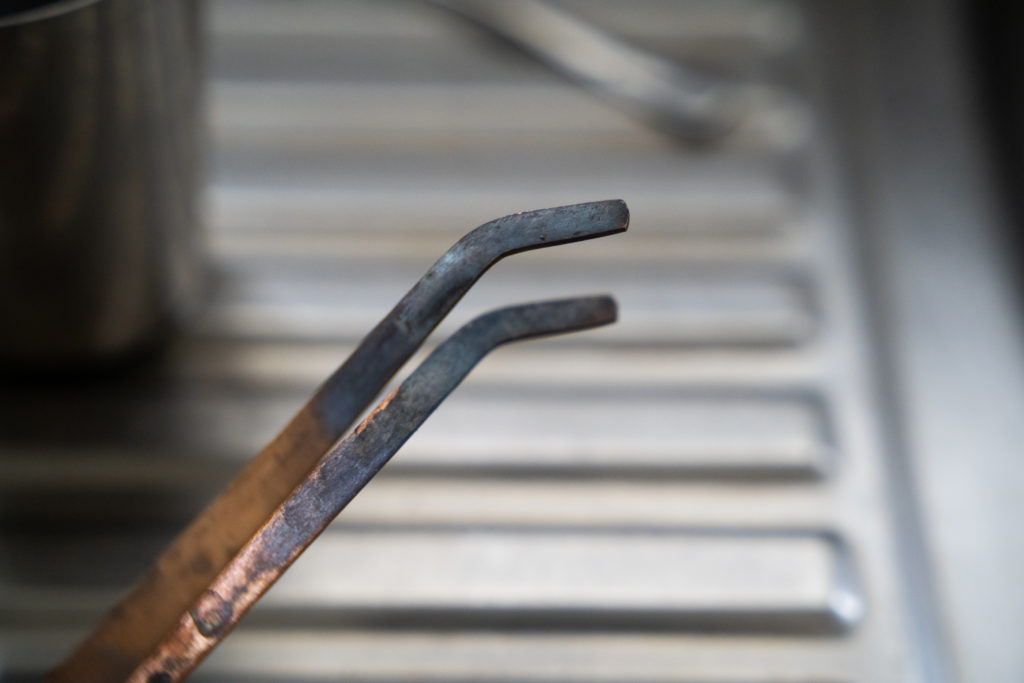
Here are the designated yucky egg water tongs. You can see the solidified sulfur on them
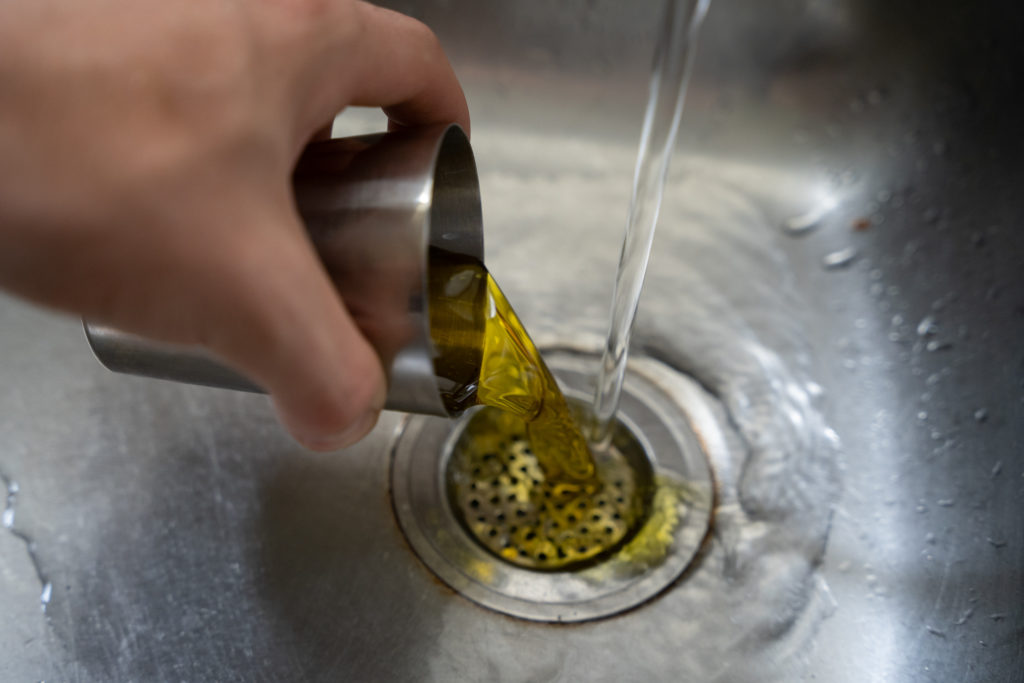
Bye bye piss egg water. Have fun eroding the plumbing 😀
Removing Oxidization
After oxidization, here’s how the rings look:
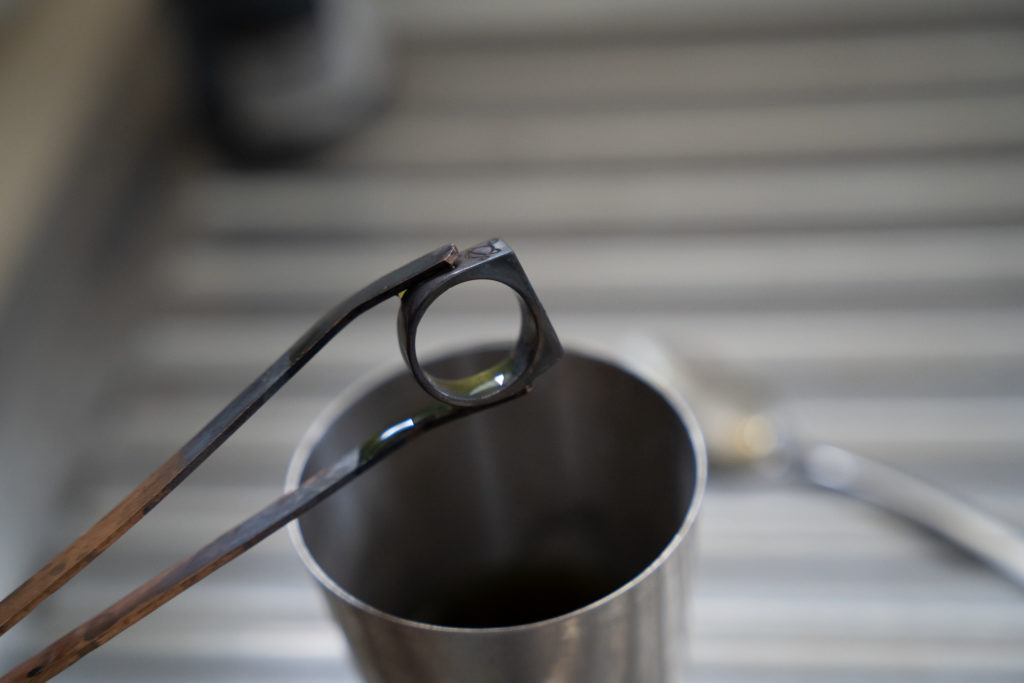
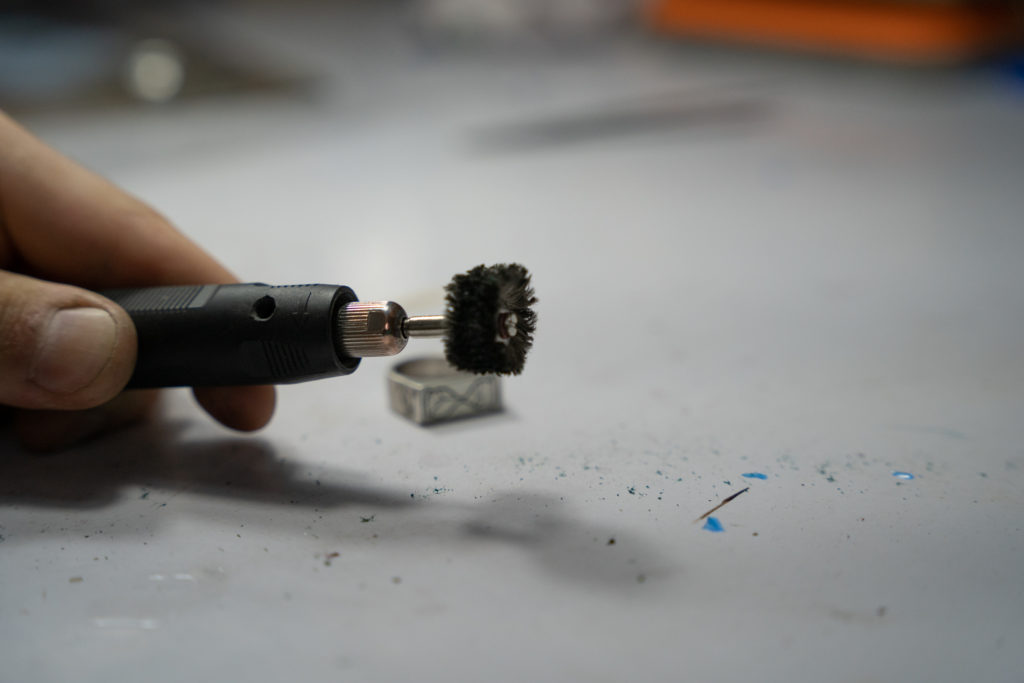
Obviously we’re still a far cry away from the nice shiny finish we want, so I have to buff all the oxidization off.
Here’s how it looks afterwards:
Not bad, some people like them like this. I’ve had a few orders where people don’t want the high polish, so I’ll put a bit more effort into the buff and leave it like that. Normally though, I’ll keep going to the next step.
Polishing
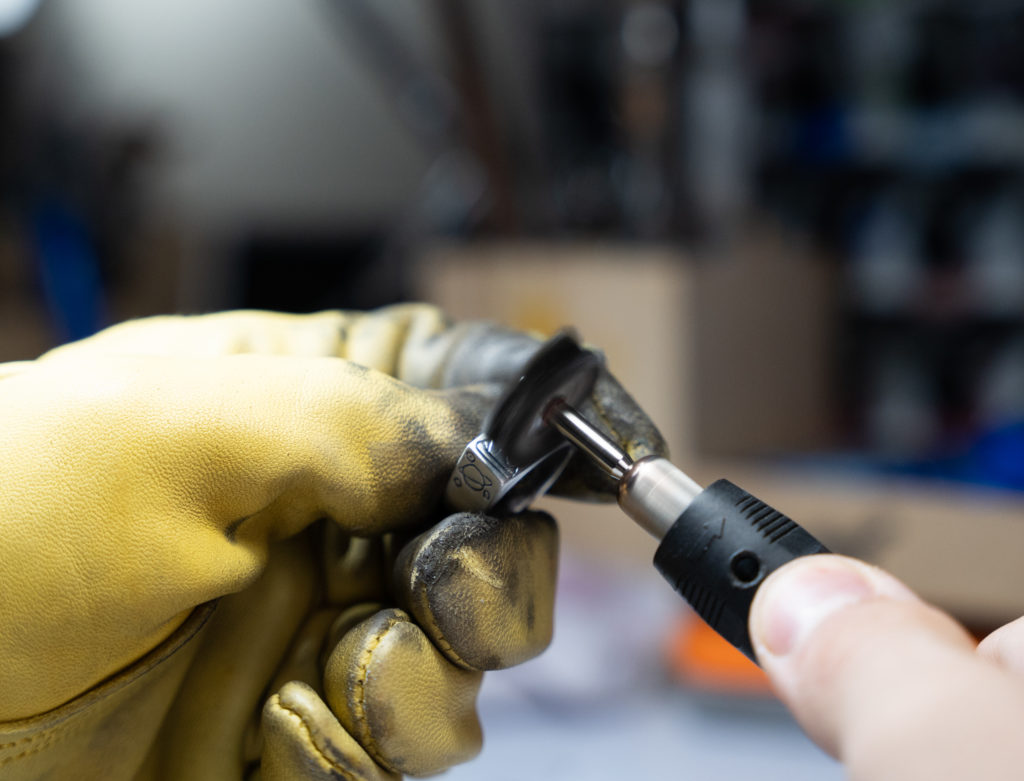
This step doesn’t require much explanation, but I think the tool used is pretty interesting:
It’s basically a metal stick wrapped with cotton. It doesn’t do much on its own, but when you combine it with polishing medium:
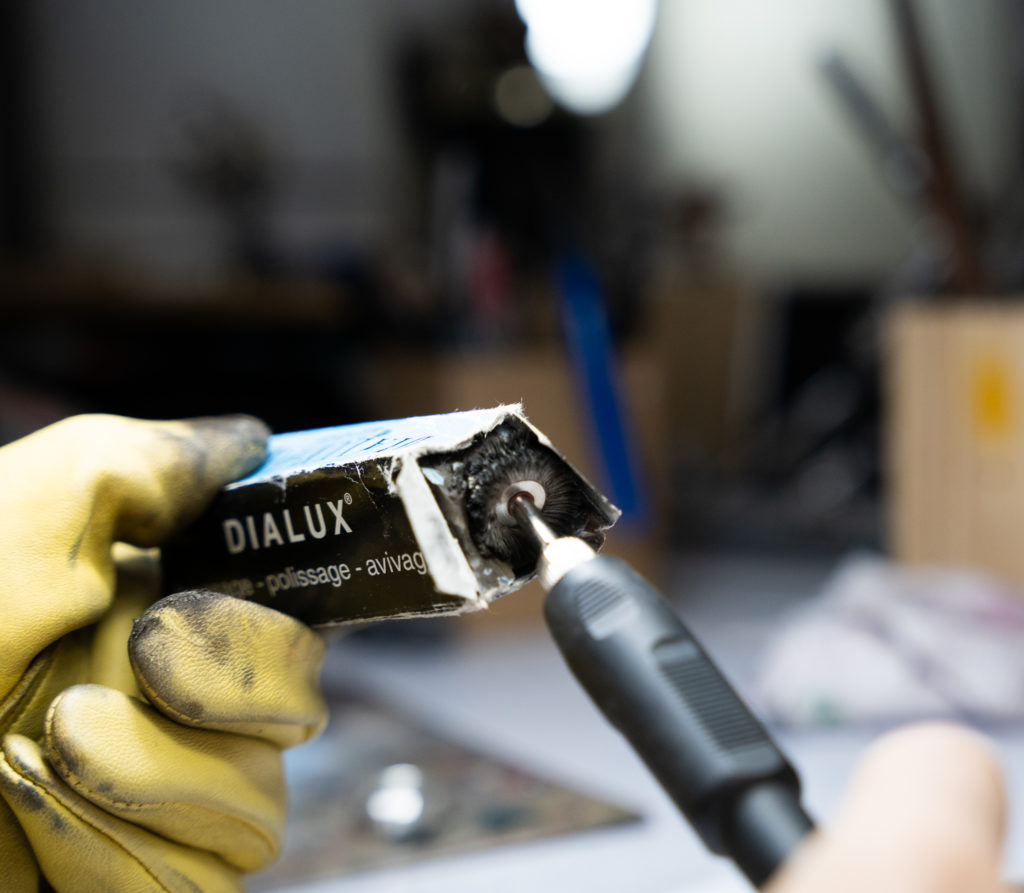
It becomes an extremely useful tool.
I use Dialux Blue Platinum to polish Sterling Silver, gold, and bronze. I don’t know if it’s meant for gold but it’s worked every time I’ve used it on gold so I’m going to keep doing it*. The only metal I don’t use it on is the one it’s actually designed for. Dialux polishing compounds are made in France and make me feel like I’m a lot more special than I am because of the French writing all over the block.
*June 2022 Update: It’s definitely not meant for gold. I now use Dialux red rouge on all gold pieces 🙂
The whole polishing thing is fairly straight forward but like most jewellery related processes, it requires some practice to get right. Polishing compound is pretty much sandpaper but in grease form. If that doesn’t make any sense to you, don’t worry, because I don’t understand it either. All I know is that if I make the mop covered in it spin and rub it on the metal it gets shiny eventually.*
*April 2022 Update: it’s not this simple, more information coming soon.
Normally I’ll do this a few times, with some washing in hot water and rubbing with a microfiber cloth in between. This isn’t really necessary but I feel like it makes the polish just that little bit brighter.
Final Look
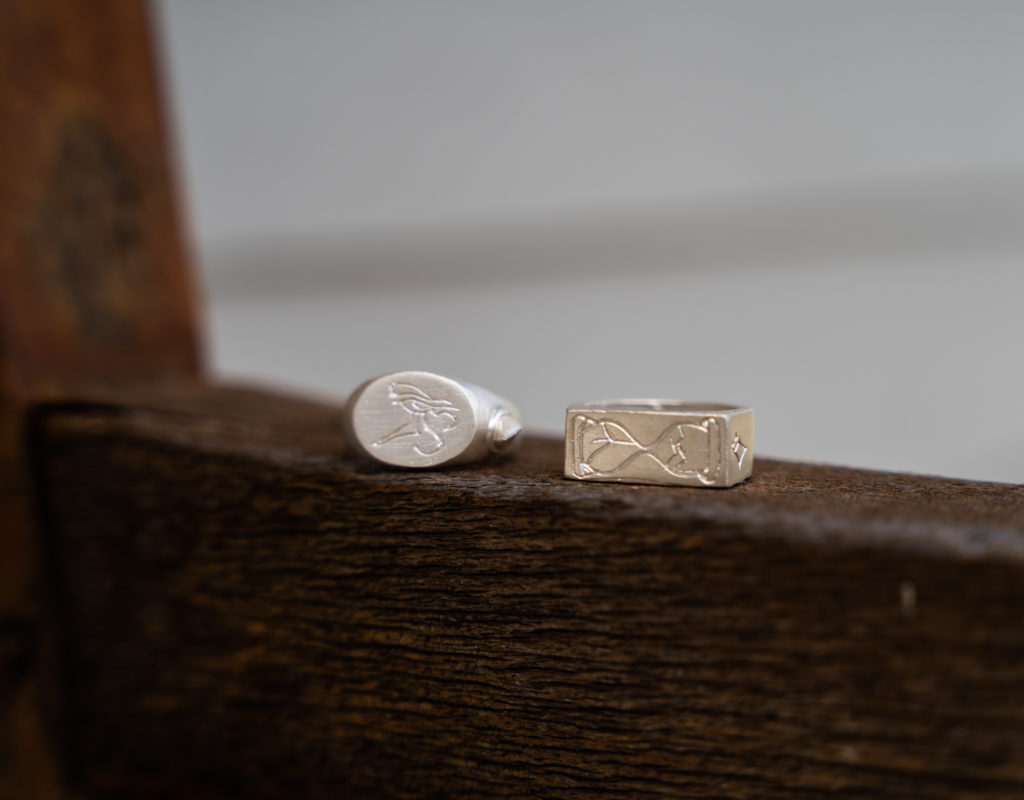
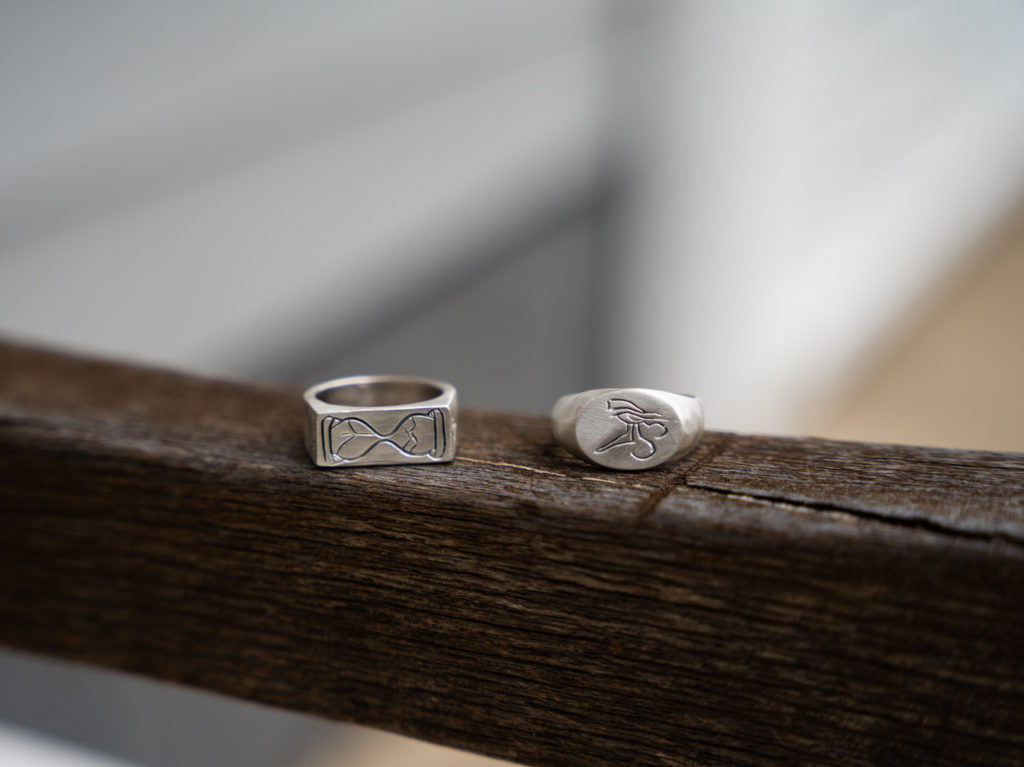
Once all this is done, the rings end up looking like this:
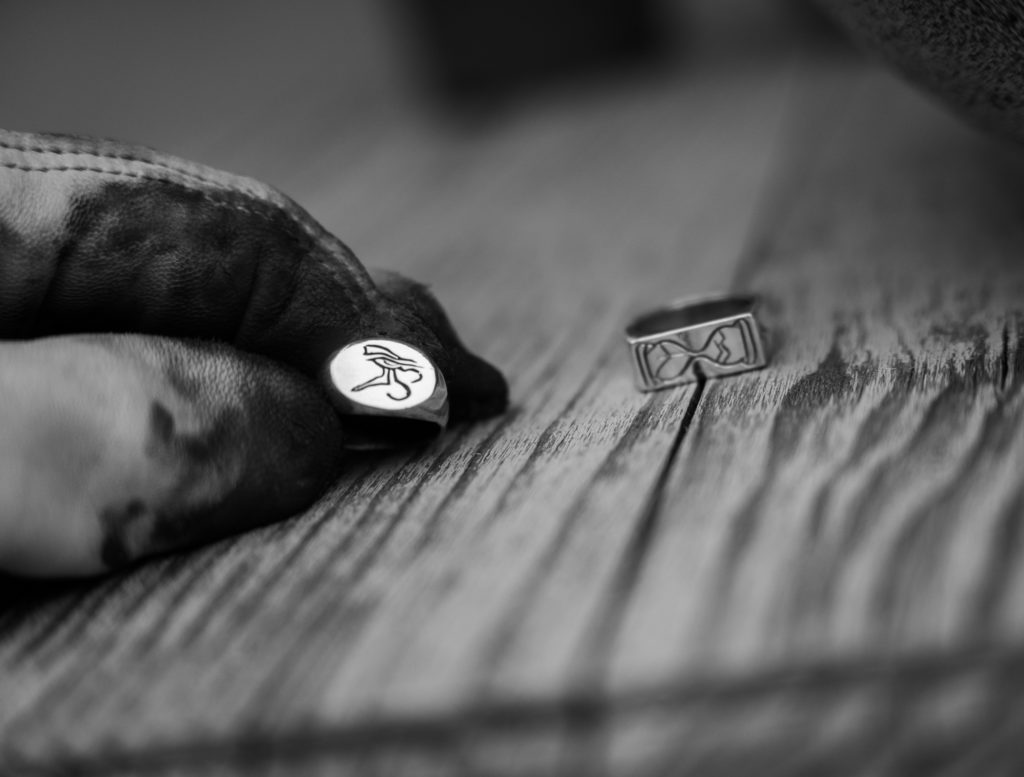
Not the best photo I’ve ever taken, but you can see how reflective the rings are. The gap between the wooden planks is reflected quite clearly in Evanescence, and the sun reflecting off the Eye of Horus has to be edited down in Photoshop because it blows out the whole image.
Thanks for reading this little article about the process I follow to make my rings. All of this is self taught via trial and error, and I have no official (or unofficial for that matter) training. Although sometimes I feel like I don’t know what’s going on, it always seems to come out well in the end. *
*July 2022 Update: I have learnt more and I now know exactly what is going on.